Getting Rid of That Sticky, Tired Caulking
Ah, window caulking. It’s the unsung hero (or perhaps villain) of your home improvement story. For many of us, it’s a constant battle against mold, cracks, and that persistent, sticky mess that just won’t quit. But removing old caulking can be daunting, especially if you’re looking to make those window-pane dreams a reality.
Don’t fret! This step-by-step guide walks you through the process with easy-to-follow steps and helpful tips to tackle this common homeowner challenge. Whether you’re aiming for a fresh look or simply want to ensure your windows are energy efficient, removing old caulking is an essential part of maintaining the beauty, functionality and longevity of your home.
Before we dive into the how-to’s, let’s get a clear understanding of why this task is important. Window caulking serves as a critical barrier between your windows and the world outside, preventing leaks, drafts, and those pesky critters that love to sneak in under the radar.
Think about it: when you clean your windows, you’re also cleaning the caulk around them. Over time, this caulk can become brittle and yellowed, hindering its effectiveness. The result? Increased energy costs, drafts, and potential structural damage. Removing old caulking is a necessary step to revitalize your windows and make them perform at their best.
Now, let’s face it: removing old window caulking can be a messy business; we’ll need the right tools for the job, so let’s prepare!
Gathering Your Arsenal
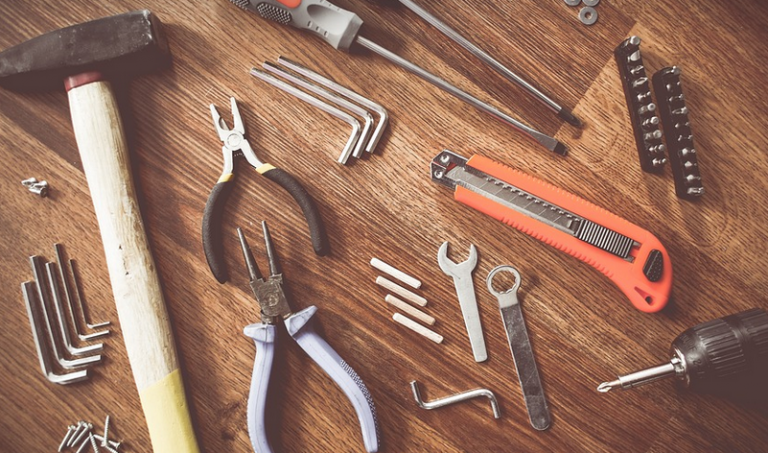
To tackle this task effectively and with minimal fuss, you’ll want to assemble the following arsenal:
* **Utility Knife:** A sharp utility knife will be your best friend. It can easily slice through the old caulk, allowing it to break free from the window frame.
* **Scraping Tool:** A flat head scraper is a must-have for removing stubborn caulk. A metal one works well but an older wooden scraper might be easier on delicate frames.
* **Caulking Removal Tools:** These nifty tools specialize in removing caulk from the window frame, easing the process with their special designed edges and blades.
* **Gloves & Safety Glasses:** Protect yourself! Gloves prevent direct contact with chemicals or harsh materials that could irritate your hands. Safety glasses safeguard against flying debris during the scraping process.
* **Bucket:** For collecting the old caulk and cleaning up any spills.
* **Cleaning Supplies:** A little soap and water is all you need to wash away the residue after you’re done.
Prepare Your Work Area
Before you begin, make sure your work area is safe and well-lit:
* **Clear the Workspace:** Remove any items from around your window, ensuring the area is free of clutter for easy access. * **Ventilation:** Open windows to ventilate as much as possible, especially if using a strong chemical to remove the caulk.
Time to Remove That Caulking!
Now, time to dive into the removal process:
* **Measure Up:** First things first, measure the length and width of your window, creating an inventory for any new caulking you plan on purchasing. This will help ensure you buy the right amount.
* **The Cutting Edge:** Using your utility knife, carefully score the caulk around the edges of the window frame, making cuts to break it free from the glass. Work slowly and deliberately, avoiding sharp angles that could damage your frames or the surrounding wall. * **Scraping Away:** Use your scraper tool, applying gentle pressure to start scraping away any residue. You might need to repeat this process in multiple sections to fully remove the caulk.
* **Patience is Key:** Removing old caulking can take time and effort. Don’t rush the process. Be patient to ensure you get a clean, smooth surface for your new window sealant to bond with.
* **Clean Up: **Once the caulk has been removed, wipe down the area using soapy water or alcohol solution to remove any residue left behind. This ensures you have a clean slate to work on and prevents staining or future problems.
Preparing for New Caulking
Now that you’ve cleared out the old caulk, it’s time to prep your window frame for fresh caulking:
* **Clean the Surface:** Before applying new caulk, make sure the area around the window is dry and free of debris. The surface should be smooth to ensure the caulk bonds correctly.
* **Apply Primer (Optional):** If you’re applying a different type of sealant than the original, it might be necessary to apply primer for the best bonding results.
* **Choose Your Caulking:** Select the right caulk for your window. Make sure to choose a weather-resistant, mold-resistant and UV-resistant option for the best durability.
The Final Touches
Your caulking project is complete! Now, let’s make it last
* **Dry and Smooth:** Once you’ve applied your new caulk, use a damp cloth to smooth out any excess sealant around the window. This helps create an even surface for easy cleanup.
* **Cure Time:** Allow the caulk to cure according to the manufacturer’s instructions. This ensures proper bonding and long-lasting results.
* **Clean Up: ** After the caulk has cured, use a damp cloth to wipe away any excess sealant around the window frame. Be sure to protect your hands with gloves during this process!
A Word of Advice
Removing old caulking is a necessary step in maintaining the beauty and functionality of your windows.
And remember, if you’re ever unsure about any aspect of the process, don’t hesitate to consult with a professional window installer or repair expert. They can provide personalized advice based on your specific needs and home design.
